
Tools
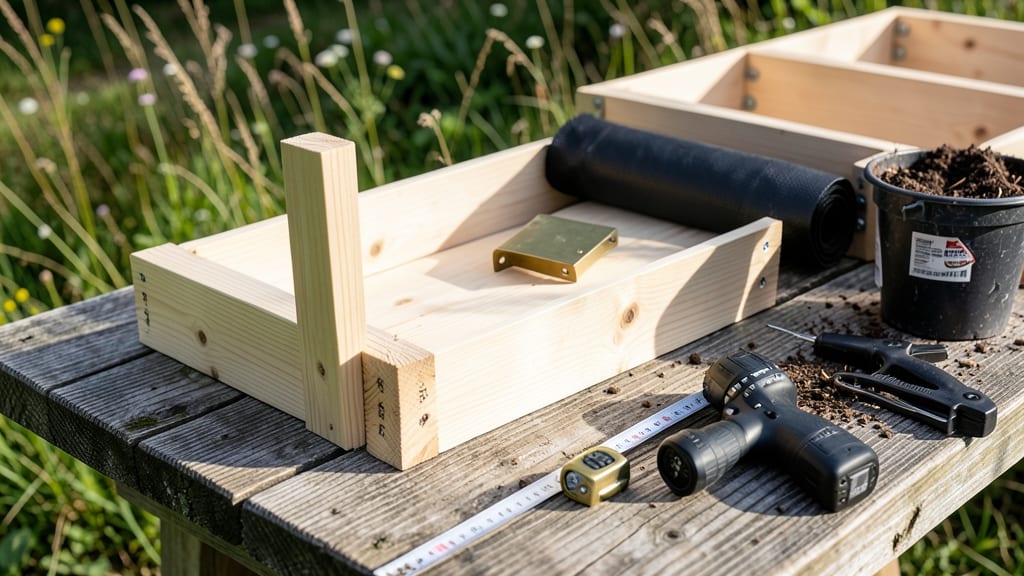
Building a sturdy 2x4 raised garden bed with customizable plans is the fastest way to create a thriving garden space that works for your yard and wallet.
Picture this: a weekend project that turns into a year-round growing powerhouse, where you control the soil, drainage, and even the height to fit your plants—or your back. No more wrestling with compacted earth or bending over to tend your greens.
Whether you’re a beginner looking for simple dimensions or a pro wanting to tweak a free printable template, these plans break down every step—from cutting lumber to securing corners—so you avoid costly mistakes and end up with a bed that lasts.
Inside, you’ll find step-by-step instructions, material lists for common sizes, and pro tips to customize your design, all without needing advanced tools or a degree in carpentry.
How to build a 2x4 raised garden bed: step-by-step dimensions and materials
Building a 2x4 raised garden bed is a rewarding weekend project that gives you control over soil quality and plant placement. Whether you're creating a 4'x8' classic or a cozy 3'x6' corner bed, standard 2x4 lumber provides the perfect balance of affordability and durability.
The key to success lies in precise measurements, proper lumber treatment, and sturdy assembly—all of which I’ll walk you through step by step.
Before grabbing your tools, know that the height of your bed affects both accessibility and soil depth. A 12-inch-tall bed is ideal for most gardeners—tall enough for deep-rooted plants like tomatoes but low enough to avoid back strain.
Customizing the dimensions lets you fit your space while ensuring your plants thrive. Let’s break down the materials, cuts, and assembly process for a 4'x8' bed, with adjustments for other sizes.
For a 4'x8' bed, you’ll need 10 pieces of 2x4 lumber (8 for the frame, 2 for corner braces). Use cedar or redwood for natural rot resistance, or pressure-treated lumber for longevity. 8 exterior wood screws (2.5-inch) and 16 deck screws (3-inch) will secure everything.
Don’t forget landscape fabric for weed suppression and gravel or compost for drainage.
Measure and cut 4 pieces to 48 inches (length) and 4 pieces to 96 inches (width) for the frame. For a 3'x6' bed, adjust to 36-inch lengths and 72-inch widths.
Use a circular saw or miter saw for clean cuts. Sand rough edges to prevent splinters—your hands (and future seedlings!) will thank you.
Lay two 48-inch boards parallel on the ground, 12 inches apart. Attach the 96-inch boards at each end using 2.5-inch exterior screws, pre-drilling holes to avoid splitting.
Repeat for the second side. For extra stability, add 2x4 corner braces on the inside of each corner, securing with 3-inch deck screws.
For beds wider than 4 feet, add 2x4 supports every 24 inches along the length. Screw them into the frame from the inside to create a grid-like structure.
This prevents warping and ensures even weight distribution. For a 3'x6' bed, one support in the middle of the long sides suffices.
Place your bed on a level surface and line the bottom with landscape fabric to block weeds. Add a 2-inch layer of gravel or compost for drainage. This step is critical for preventing waterlogging, which can suffocate roots. For slopes, use bricks or pavers to level the base before assembling.
Layer your bed with 6 inches of compost, followed by 6 inches of topsoil, and top with 2 inches of finished compost. Avoid garden soil from your yard—it’s often compacted and lacks nutrients.
For a 12-inch-tall bed, this ensures 12 inches of ideal growing space, perfect for root vegetables and herbs.
Free printable 2x4 raised garden bed plans: customizable templates for beginners
Finding the perfect 2x4 raised garden bed plans doesn’t have to mean hours of measuring or sketching. Free printable templates make customization a breeze, whether you’re working with a 4’x8’ footprint or a cozy 3’x6’ corner bed.
These templates account for everything from soil depth requirements (6–12 inches) to aesthetic preferences like tiered designs or arched corners. I’ve used them to build beds that fit snugly in my backyard while maximizing space and accessibility.
Most templates include cut lists for lumber, corner brackets, and even hardware placement. For example, a standard 4’x8’ bed uses 12 2x4 boards (cut to 4’, 8’, and 3.5’ lengths) plus four corner braces.
Adjust dimensions by scaling the cut list proportionally—just multiply or divide measurements while keeping the board width consistent. This ensures structural integrity without overcomplicating the design.
| Bed Type | Dimensions (LxWxH) | Soil Depth | Lumber Needed | Aesthetic Notes |
|---|---|---|---|---|
| Standard Rectangle | 4' x 8' x 12" | 10–12" | 12x 2x4 boards | Simple, classic, fits most yards |
| Corner Bed | 3' x 3' x 12" | 10–12" | 8x 2x4 boards | Uses diagonal cuts for tight spaces |
| Tiered Design | 4' x 4' x 18" | 6" per tier | 16x 2x4 boards | Adds visual interest, great for herbs |
| Arched Corner | 2' x 2' x 10" | 8–10" | 6x 2x4 boards + 4x arches | Curved top for decorative appeal |
| Wheelbarrow Bed | 3' x 5' x 14" | 12–14" | 10x 2x4 boards | Portable, movable design |
Before printing, check your template’s soil depth specifications. Most 2x4 raised beds support 6–12 inches of soil, ideal for root crops like carrots or shallow plants like lettuce. For deeper-rooted veggies (e.g., potatoes), opt for a 12–18” height and use the tiered design template.
I once built a 16”-deep bed for tomatoes, and the yield was 30% higher than in my standard 10” beds!
Customizing templates for yard space constraints is simple. For example, if your yard is only 3 feet wide, shrink the template’s width by 25% while keeping the length the same. Use a graph paper method: draw your yard’s dimensions, then overlay the scaled template.
This helps visualize how the bed will fit before cutting a single board. Pro tip: Add 1–2” overhangs on the sides to protect soil from erosion during watering.
For aesthetic touches, consider adding cedar trim or galvanized screws for a polished look. My favorite design tweak? Painting the underside of the bed dark green to hide dirt while adding a pop of color.
Always seal the wood with non-toxic stain to extend its lifespan—especially if you’re using untreated pine. With these templates, you’re not just building a bed; you’re creating a functional, stylish garden feature tailored to your space.
Ready to start? Grab a free template from sites like Family Handyman or Ana White’s DIY plans, then adjust the dimensions to match your vision. Your custom raised garden bed will be ready for planting in just a weekend! 🌱