
Fertilization
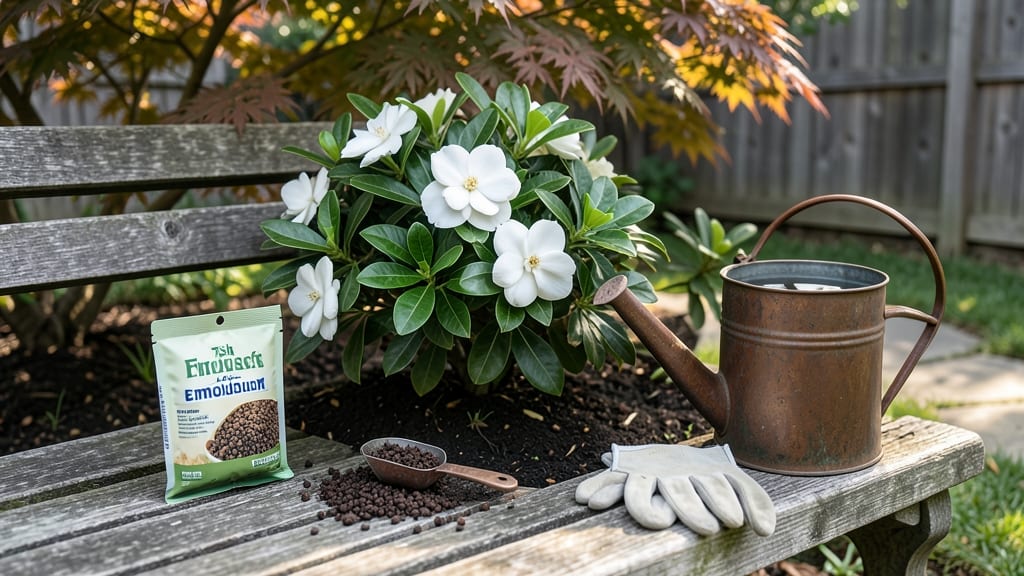
Natural fertilizers for gardenias 🌸 are the game-changer you need to unlock those fragrant blooms without synthetic chemicals.
Picture this: You’ve watered, pruned, and even babied your gardenias, but the blooms still refuse to cooperate. The problem might be what’s not in your soil—not just what’s missing. Gardenias thrive on acidity and organic richness, and the best fertilizers come straight from your kitchen or compost pile.
From coffee grounds that lower pH to eggshells packed with calcium, these natural options feed your plants and the soil microbes they rely on. No more guessing which synthetic blend works—just repurpose scraps you’d toss anyway.
Below, I’ll break down the top 5 kitchen-to-garden fertilizers, how to use them, and when to apply them for maximum blooms.
Ready to turn your gardenia’s lackluster growth into a fragrant, blooming superstar? Let’s get started with the easiest and most effective methods.
Top 5 natural fertilizers for gardenias (and how to use them)
Gardenias thrive when their acid-loving roots get the right nutrients, but chemical fertilizers can disrupt their delicate balance. The good news? Your kitchen and yard already hold powerful, free fertilizers that boost blooms and foliage without harsh additives.
From coffee grounds to banana peels, these natural options mimic gardenias' native soil conditions while feeding them slowly over time.
As gardeners who’ve tested these methods in our own backyard gardens, we’ve seen firsthand how organic fertilizers can transform struggling gardenias into fragrant, flower-covered shrubs. The key lies in understanding each fertilizer’s unique benefits—whether it’s the potassium boost from banana peels or the acidic pH adjustment from pine needles.
Let’s dive into the top 5 natural fertilizers and how to use them for maximum impact.
Why natural fertilizers? Gardenias hate synthetic chemicals that alter soil pH or burn roots. Natural options like compost tea and eggshells provide slow-release nutrients while improving soil structure. Plus, they’re cost-free if you’re repurposing household waste! For example, we’ve used coffee grounds from our morning brew to lower soil pH in just weeks, eliminating the need for store-bought acidifiers.
Let’s start with our #1 favorite: coffee grounds. These nitrogen-rich scraps are a gardener’s secret weapon for acid-loving plants like gardenias. We’ve found that mixing 1/4 cup of used grounds into the top inch of soil every 6 weeks lowers pH while feeding roots.
Pro tip: Always bury them—surface application can attract pests. One of our community garden members used coffee grounds exclusively for two years, and their gardenias now produce double the blooms compared to neighbors using synthetic fertilizers.
Next up are eggshells, which might seem surprising, but they’re packed with calcium—essential for preventing blossom end rot and strengthening cell walls. To use them, simply crush clean, dried eggshells into a fine powder and work them into the soil around your gardenia’s root zone.
We like to do this monthly, especially before the spring blooming season. For extra calcium, blend shells into a fine powder using a coffee grinder—it’s a great way to repurpose kitchen waste without taking up garden space.
Don’t toss those banana peels either! Their high potassium content directly supports flower production and disease resistance. We chop peels into small pieces and bury them near the roots every 2 months.
For container gardenias, we even save peels in a jar of water for a week, then use the nutrient-rich liquid as a foliar spray. This method has helped our potted gardenias maintain lush foliage even during hot summer months when other plants wilt.
If you have pine trees nearby, pine needles are a game-changer for maintaining acidic soil.
Simply spread a 1-inch layer as mulch in early spring—they’ll decompose slowly, releasing organic acids that keep your gardenia’s soil at the perfect pH. We’ve used this method in our raised beds, and the results are stunning: darker green leaves and more frequent blooming.
Just avoid overdoing it—too many needles can make the soil too acidic.
Finally, compost tea is our go-to for a quick nutrient boost and microbial support. We brew it by steeping compost in water for 24-48 hours, then strain and dilute it to a 1:10 ratio before applying. This tea is rich in beneficial bacteria that improve root health and nutrient uptake.
Use it every 2 weeks during the growing season, and you’ll notice your gardenias developing a thicker canopy and more abundant flowers within weeks.
Remember, the key to success is consistency. We recommend combining 2-3 of these methods for best results—like using coffee grounds in spring and compost tea in summer. And always water your gardenias deeply after applying any fertilizer to help nutrients reach the roots.
With these natural fertilizers, you’ll have gardenias that bloom like they’re in a botanical garden—without the chemical side effects.
🌸
How to create a DIY acid-loving soil mix for gardenias using household waste
Your gardenias deserve a nutrient-rich, acidic soil to thrive, but buying specialty mixes can be pricey. The good news? You can create the perfect blend right at home using household waste and organic materials.
This DIY soil mix mimics the acidic, well-draining conditions gardenias love naturally—without breaking the bank or harming the environment.
Gardenias crave a pH between 5.0 and 6.5, which is naturally acidic. By repurposing items like coffee grounds, eggshells, and citrus peels, you’re not just reducing waste—you’re giving your plants exactly what they need to produce those fragrant, creamy-white blooms.
Plus, this method avoids the harsh chemicals found in many commercial fertilizers, making it safer for your plants and your family.
Step-by-Step DIY Acid-Loving Soil Mix
- Step 1: Gather your household waste—1 cup used coffee grounds, 1 cup crushed eggshells, and 1 cup dried citrus peels. These items are packed with nutrients and help lower soil pH naturally.
- Step 2: Collect organic materials—2 cups pine bark fines or pine needles (for acidity), 1 cup worm castings (for nutrients), and 1 cup peat moss (optional, for moisture retention).
- Step 3: Mix everything in a large bucket or wheelbarrow. Start with 50% garden soil (or potting mix) as your base, then add the remaining ingredients in equal parts.
- Step 4: Test your soil’s pH level using a digital pH meter or litmus paper. Aim for a reading between 5.0 and 6.5. If it’s too high, add more coffee grounds or pine needles.
- Step 5: Apply the mix to your gardenia’s root zone, mixing it gently into the top 6 inches of soil. Water thoroughly to help the ingredients integrate.
This DIY soil mix isn’t just budget-friendly—it’s also customizable. If you notice yellowing leaves (a sign of iron deficiency), add a handful of crushed iron-rich rocks or more worm castings. For a heavier texture, blend in coconut coir to improve drainage.
One of the biggest mistakes gardeners make is assuming all organic materials are safe to use. Avoid adding fresh manure or high-nitrogen compost, as these can raise the pH and burn gardenia roots. Stick to slow-release, acidic amendments like the ones listed above for the best results.
Once you’ve created your custom soil mix, monitor your gardenias for signs of improvement. You’ll likely notice darker green leaves, more frequent blooms, and overall healthier growth within just a few weeks.
The best part? You’re not just feeding your plants—you’re reducing waste and creating a sustainable garden ecosystem.
Ready to give your gardenias the acidic love they deserve? Grab those coffee grounds and get mixing—your fragrant, blooming shrubs will thank you! 🌸