
Picking
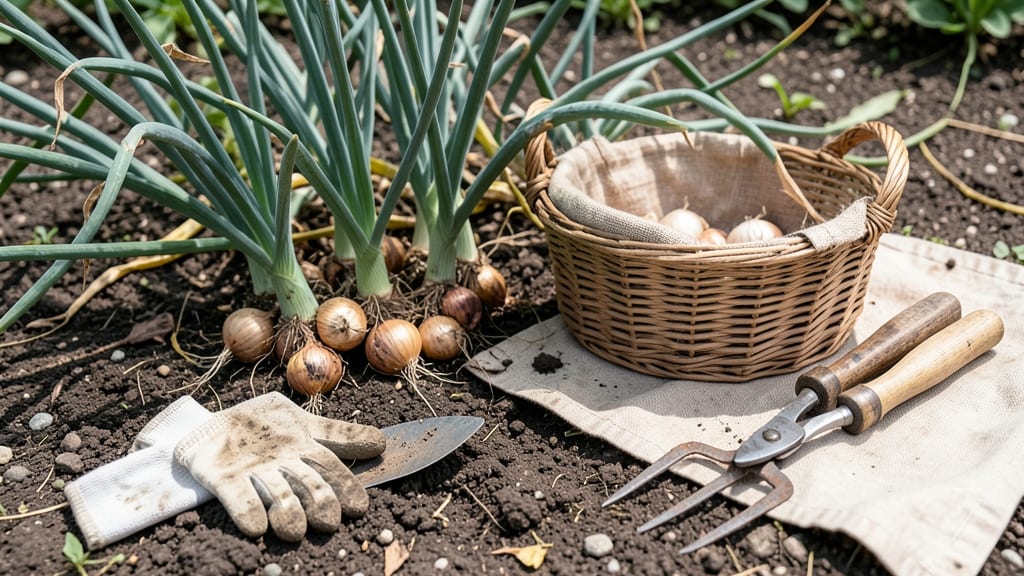
Harvesting shallots from your garden at the right time ensures bold, flavorful bulbs that store beautifully—if you miss the window, you risk ending up with shriveled, weak onions.
Picture this: you’ve nurtured your 🧅 shallots all season, and now the leaves are turning yellow, but you’re not sure if they’re ready. Or maybe you’ve heard conflicting advice about when to dig them up.
The truth is, timing is everything—and a few simple cues can save you from wasted effort.
In this guide, I’ll walk you through the exact signs to look for—from leaf color to bulb firmness—and share the best techniques for pulling shallots without damaging them.
Whether you’re in Zone 6a or a warmer climate, you’ll learn how to maximize flavor and storage life so your harvest lasts well into the next year.
Ready to pull your shallots at peak perfection? Let’s dive into the step-by-step process that’ll make your garden’s hard work pay off in every bite.
When to harvest shallots for peak flavor and size
Timing your shallot harvest correctly is the difference between bold, sweet flavor and disappointing, pungent bulbs. Unlike onions, shallots mature over 90-120 days, and missing the window means smaller yields or poor storage life.
The key lies in watching for leaf color changes, bulb firmness, and environmental cues that signal readiness.
Most gardeners focus on leaf yellowing as the primary harvest indicator, but there are three critical signals to confirm maturity. First, the top leaves turn yellow-brown and flop over, while the lower leaves remain green.
Second, the bulbs should feel firm when gently squeezed—soft bulbs mean they’re still growing. Finally, the skin should be dry and papery, not glossy or moist.
Climate plays a huge role in harvest timing.
In cool climates (Zones 3-6), shallots often mature in late summer (July-August), while in warmer zones (7-10), they may be ready by early summer or even late spring if planted in fall. Daylength-sensitive varieties like 'French Grey' or 'Red Creole' respond to shorter days, while others like 'Everlasting' mature more consistently regardless of climate.
Here’s a quick reference to help you spot the perfect harvest moment:
One common mistake is waiting too long after the leaves yellow. If you delay, the bulbs may split open or develop hollow centers, reducing flavor and storage potential. For storage shallots, harvest when the bulbs are fully mature but still firm.
If you’re growing for immediate use, you can pull them slightly earlier when they’re 1 inch in diameter—they’ll still be flavorful but may not store as long.
Variety also affects harvest timing. French shallots like 'Jermor' mature faster (90-100 days) and are best harvested in early summer, while larger varieties like 'Everlasting' take 110-120 days and may not be ready until late summer or fall.
Always check the seed packet for days to maturity and adjust your schedule accordingly.
Morning is the best time to harvest because the soil is moist, making it easier to dig without damaging the bulbs. Use a garden fork to loosen the soil around the plants, then gently lift them out.
Shake off excess dirt and let them cure in a dry, shaded area for 2-3 days before storing. This curing step helps the skins toughen, preventing rot during storage.
If you miss the harvest window, don’t panic. Shallots left in the ground too long can bolt (send up flowers), which reduces bulb size and flavor. However, if you’re in a mild climate, some varieties may produce a second harvest in late fall.
Just monitor the plants closely and be ready to act when the leaves start yellowing again.
Pro tip: Mark your calendar based on your planting date and local frost dates. For example, if you planted in early spring (March), expect harvests between July and August. In cooler regions, you might even get a fall harvest if the season extends long enough.
By mastering these harvest cues and adjusting for your climate and variety, you’ll consistently pull shallots at their peak flavor and size, ensuring a bountiful harvest season after season. 🧅
Step-by-step guide to harvesting shallots without damaging the bulbs
Harvesting shallots at the right time ensures maximum flavor and storage potential. The key is timing—wait too long, and the bulbs may split or rot; harvest too early, and they’ll be small and underdeveloped.
With the right tools and techniques, you can gently remove shallots from the soil while preserving their quality for months of storage.
Before you begin, gather your supplies: a sharp garden fork, pruning shears, a baking sheet, and a well-ventilated drying area. Avoid using a shovel, as it can bruise the bulbs. Work on a dry, sunny day to speed up the curing process and reduce disease risk.
How to Harvest Shallots Without Damaging the Bulbs
- 1 Trim the foliage: Use pruning shears to cut the tops back to 2 inches above the bulbs. This redirects energy to the bulb and prevents disease during curing.
- 2 Loosen the soil: Gently insert a garden fork 4-6 inches away from the plant and wiggle it to loosen the soil. This prevents tearing the bulb’s skin.
- 3 Lift the bulbs: Grasp the base of the plant and pull upward. Shallots should come out easily if the soil is loose. Avoid twisting, which can damage the bulb.
- 4 Shake off excess soil: Gently tap or brush off dirt, but don’t rinse the bulbs. Moisture speeds up spoilage during curing.
- 5 Cure the shallots: Spread bulbs on a baking sheet in a dry, shaded area with good airflow for 2-3 weeks. Turn them occasionally for even drying.
- 6 Store properly: Once dry and papery, store bulbs in a mesh bag or cardboard box in a cool, dark place (50-60°F). They’ll keep for 3-6 months.
One common mistake is harvesting when the tops are still green. Wait until 50-70% of the leaves have turned yellow and dried back. Overripe shallots split easily and spoil faster. If you notice any bulbs with soft spots or mold, remove them immediately to prevent contamination.
For longer storage life, avoid washing shallots before curing. The natural skin acts as a protective barrier against moisture and rot. If you must clean them, do so right before using—never store wet bulbs. With proper care, your harvested shallots will stay fresh and flavorful for months.
Pro tip: Harvest a few bulbs early for immediate use while leaving the rest to mature. This way, you enjoy fresh shallots right away and still have a stash for later. Happy harvesting! 🧅