
Advice
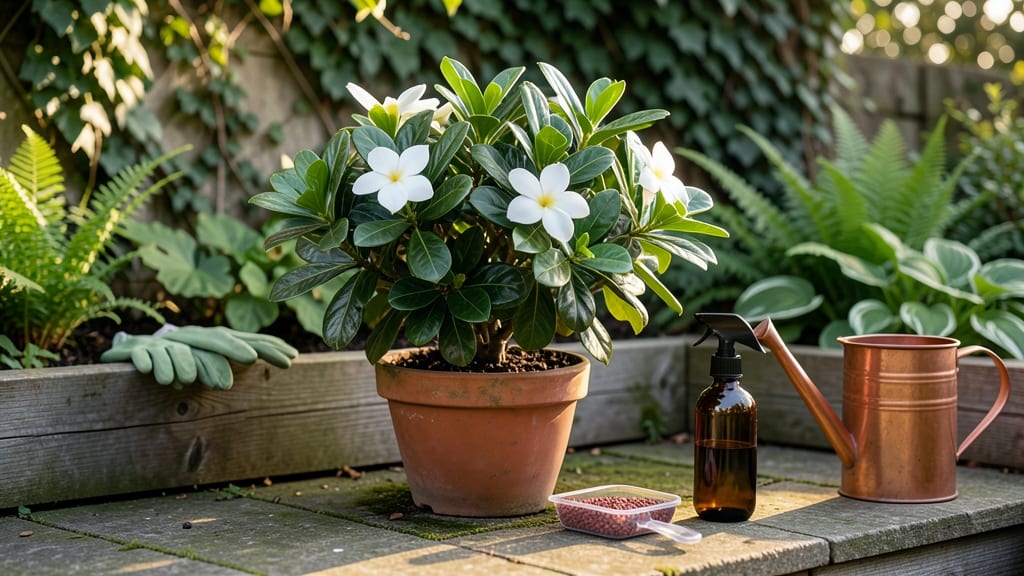
Giving gardenias 🌸 the iron they need is the fastest way to turn yellowing leaves and weak blooms into lush, fragrant growth in just two weeks.
If your gardenias are producing sparse, yellowing leaves and drooping blooms, an iron deficiency could be the silent culprit—yet fixing it in just two weeks is easier than you think.
Iron deficiency happens when soil pH creeps too high or drainage gets sluggish, locking out this essential nutrient. The good news? Chelated iron supplements or simple soil tweaks can revive your plant without a full soil overhaul.
In this guide, I’ll walk you through diagnosing the problem, the best iron sources for your gardenias, and how to apply them for maximum absorption—so you can enjoy those signature white blooms all season long.
How to diagnose iron deficiency in gardenias and apply the right fix
Your gardenias might be silently screaming for help—yellowing leaves between green veins and stunted growth are classic signs of iron deficiency. This common issue occurs when your soil's pH is too high (alkaline) or iron isn't available, even if it's present.
The good news? Fixing it is straightforward once you know what to look for and how to act.
Iron deficiency, or iron chlorosis, often starts with the youngest leaves turning pale yellow while keeping green veins—a telltale sign your gardenias can't access iron from the soil. If left untreated, this leads to fewer blooms, weak stems, and even plant death.
The key to revival is diagnosing early and applying the right iron supplement or soil amendment.
Soil pH is the #1 culprit—gardenias thrive in acidic soil (pH 5.0-6.5). If your soil tests higher than 7.0, iron becomes locked away, making it unavailable to roots. Before reaching for supplements, grab a soil pH test kit (or send a sample to your local extension office) to confirm the issue.
Once you've confirmed iron deficiency, you'll need to choose between synthetic chelated iron and organic amendments. Chelated iron is fast-acting and ideal for severe cases, while organic options like iron sulfate or Epsom salt work slower but improve soil health long-term.
Below, compare the best options for your gardenias.
| Solution | Best For | Application Method | Speed of Results | Cost |
|---|---|---|---|---|
| Chelated Iron (e.g., Iron Chelate) | Severe deficiency, fast revival | Soil drench or foliar spray | 7-14 days | $$ (Moderate) |
| Iron Sulfate | Organic gardens, mild deficiency | Soil application (sprinkle + water) | 3-6 weeks | $ (Low) |
| Epsom Salt (Magnesium Sulfate) | Mild cases, magnesium boost | Foliar spray or soil drench | 2-4 weeks | $ (Low) |
| Composted Leaf Mold | Long-term soil health | Mix into top 2-3 inches of soil | 6-8 weeks | $$ (Moderate) |
| Peat Moss + Sulfur | Lowering pH naturally | Amend soil annually | 4-6 weeks | $ (Low) |
For immediate results, chelated iron is my top pick—it’s water-soluble and works within 7-14 days. Mix 1 tsp per gallon of water and apply as a soil drench around the root zone.
If your gardenias are potted, soak the soil until water runs through the drainage holes. For organic gardeners, iron sulfate is a budget-friendly choice, but it may take 3-6 weeks to show improvement.
Don’t overlook Epsom salt—it’s not pure iron but provides magnesium, which helps plants absorb iron more efficiently. Dissolve 1 tbsp per gallon of water and spray on leaves in the early morning.
Avoid applying in direct sunlight to prevent leaf burn. Pair this with a foliar spray of chelated iron for faster results.
After applying your chosen fix, re-test soil pH in 3 months to ensure it stays in the ideal 5.0-6.5 range. If your soil is still alkaline, consider adding elemental sulfur (¼ cup per plant) to lower pH gradually.
Mulch with pine needles or oak leaves to maintain acidity naturally—this is a game-changer for gardenias!
Pro tip: Water deeply after applying iron supplements to help roots absorb nutrients. Avoid overhead watering, which can wash away treatments. If your gardenias are in containers, flush the soil with water every 2-3 months to prevent salt buildup from fertilizers.
With the right diagnosis and treatment, your gardenias can bounce back in just 2 weeks. Keep an eye on new growth—healthy dark green leaves and vigorous blooms are your reward for acting early.
And remember, prevention is key: test soil pH annually and amend as needed to keep your gardenias thriving year after year.
Step-by-step guide: applying iron for gardenias for maximum absorption
If your gardenia leaves are turning yellow between the veins—a classic sign of iron chlorosis—your plants need iron fast. The good news? You can revive them in 2 weeks with the right application method.
Iron is essential for chlorophyll production, and gardenias, especially in alkaline soils, often struggle to absorb it. Let’s fix this with proven techniques that work.
There are two primary ways to deliver iron to your gardenias: foliar sprays and soil drenches. Each method has its own benefits, and the best choice depends on your plant’s current condition. For example, if your gardenia’s new growth is already stunted, a foliar spray acts faster.
But if the roots are struggling, a soil drench will provide long-term benefits. Let’s break down both methods step by step.
- Foliar Spray: Best for quick absorption (ideal if leaves are already yellow).
- Soil Drench: Better for long-term root health (ideal if soil is alkaline).
- Store-Bought: Use chelated iron (e.g., Iron Chelate 13% or Ironite). Follow label instructions (typically 1 tbsp per gallon of water).
- DIY Foliar Spray: Mix 1 tsp Epsom salt + 1 tsp iron sulfate in 1 gallon water. Add a drop of dish soap as a surfactant.
- DIY Soil Drench: Combine 2 tbsp iron sulfate in 1 gallon water. Stir until fully dissolved.
- Foliar Spray: Apply early morning (before 10 AM) to avoid leaf burn from evaporation.
- Soil Drench: Water deeply in the evening to allow roots to absorb iron overnight.
- Foliar Spray: Repeat every 7-10 days until new green growth appears (usually 2-3 weeks).
- Soil Drench: Apply once every 4-6 weeks during growing season (spring/summer).
- Add organic matter (e.g., compost or pine needles) to lower soil pH.
- Avoid chlorinated water—use rainwater or let tap water sit 24 hours before use.
- Mulch with acidic mulch (e.g., oak leaves) to maintain soil acidity.
- Check for new green leaves within 7-10 days—this confirms absorption.
- If yellowing persists, retest soil pH (ideal: 5.0-6.5) and consider peat moss amendments.
For potted gardenias, combine both methods: start with a foliar spray for immediate results, then switch to a soil drench every 6 weeks to maintain iron levels.
Remember, gardenias thrive in acidic soil, so pairing iron treatments with organic amendments like sulfur or cottonseed meal will create the perfect environment for absorption.