
Picking
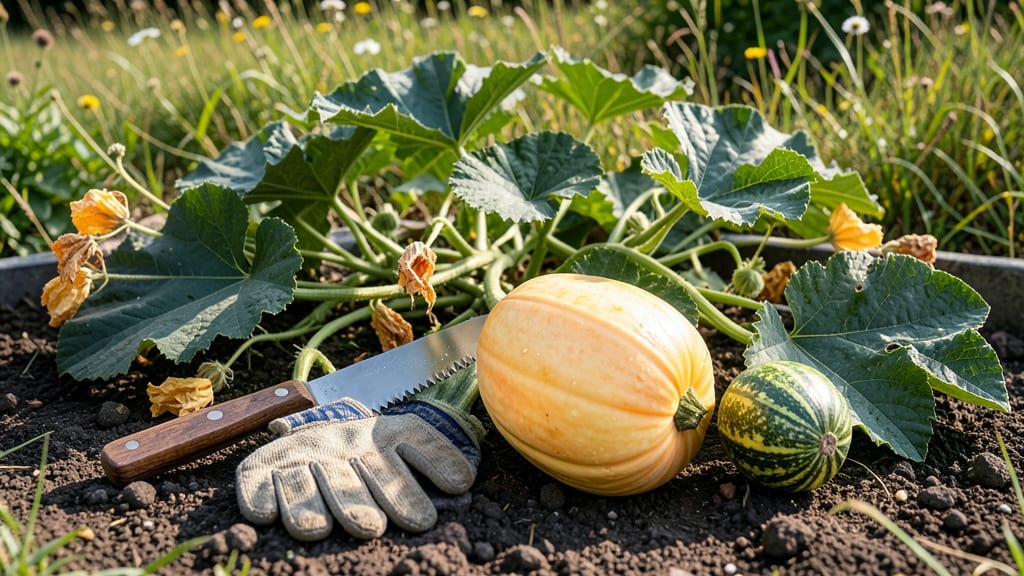
Harvesting spaghetti squash at the right time means the difference between tender, pasta-like strands and tough, unpalatable flesh — and the key is knowing exactly when to pull it from the garden.
Picture this: you’ve waited months for your 🎃 to mature, only to cut into it and find the flesh still hard or stringy. That’s a common mistake gardeners make when they harvest too early or too late.
The good news? With a few simple visual cues and a quick test, you can nail the perfect harvest window every time.
In this guide, I’ll walk you through the three most reliable signs that your spaghetti squash is ready to pick — from skin color to stem changes — so you never miss the ideal moment again.
You’ll also learn how to avoid the most common harvesting mistakes and store your squash properly for maximum flavor and texture.
By the end, you’ll feel confident in your timing, ensuring that every spaghetti squash you harvest delivers that perfect, restaurant-worthy texture you’ve been dreaming of. Let’s get started!
3 Visual cues to harvest spaghetti squash at peak ripeness
Timing your spaghetti squash harvest perfectly transforms tough, fibrous flesh into the tender, stringy texture we all love.
Unlike butternut squash, which can ripen further after picking, spaghetti squash must be harvested at just the right moment—or risk ending up with overripe gourds that turn mushy or underripe ones with hard, uncooked centers.
From color shifts to stem changes, nature gives us clear signals when it's time to pick. I've grown spaghetti squash for years, and these three visual cues have never failed me—once I learned to read them correctly.
The key is paying attention to three specific areas: the skin, the stem, and the overall plant health. Let's break down what to look for in each case.
⚠️ CRITICAL INSIGHT: Spaghetti squash continues to ripen off the vine for about 2-3 weeks after harvest, but the ideal harvest window is when these visual cues align. Waiting too long means sacrificing flavor and texture.
| Visual Cue | Unripe Indicator | Ripe Indicator | What It Means |
|---|---|---|---|
| Skin Color | 🟢 Bright green | 🟡 Dull yellow/tan | Green means starchy, underripe flesh. Dull yellow signals peak sweetness and tender strands. |
| Stem Condition | Firm, green, attached tightly | Dries to brown, easily twists off with slight pressure | A dry, detached stem means sugars have fully developed. Twisting it off prevents rot during storage. |
| Plant Vines | 🌱 Lush green, actively growing | 🌿 Yellowing, dying back | Yellow vines indicate the plant is redirecting energy to the squash. Harvest within 3-5 days of first yellow leaves. |
| PRO TIP: Combine all three cues for 100% accuracy. A single cue (like color) can be misleading in hot climates where squash may turn yellow too soon. | |||
Let me show you how these cues work in real life. Last summer, I nearly missed harvesting my spaghetti squash because I focused only on the skin color. The squash looked perfectly yellow, but when I cut one open, the flesh was still hard and pale.
That's when I realized I needed to check the stem condition and vine health too—those two factors confirmed it wasn't ready yet.
The stem twist test is my favorite trick. Gently grasp the stem between your thumb and forefinger and try to twist it. If it snaps cleanly with minimal resistance, your squash is ready.
If the stem resists or tears, wait another 3-5 days. This simple test has saved me from harvesting too early more times than I can count.
Don't overlook the vine condition either. Healthy, green vines mean the plant is still putting energy into growth, not fruit ripening. When you see yellowing leaves spreading from the bottom up, that's your final warning.
At this stage, the squash is prioritizing sugar development over vine maintenance. Harvest within 24-48 hours to catch it at its sweetest.
One common mistake I see gardeners make is waiting until the squash looks overripe—think of those giant, lumpy orange gourds you see at farmers' markets. While these might taste fine, they've lost their ideal texture.
The strands become glassy and mushy instead of tender and stringy. For the best results, aim to harvest when the squash is firm to the touch but the skin has lost its waxy shine.
Here's a bonus tip: Give your squash a gentle thump before harvesting. A ripe spaghetti squash will sound hollow when tapped, like knocking on a drum.
An unripe one feels more solid and dense. This works especially well when you're checking multiple squash at once—it's faster than inspecting each one individually.
Remember, spaghetti squash is not like pumpkins, which can store for months. Once harvested, these beauties only stay fresh for 2-3 weeks at room temperature. So timing your harvest isn't just about flavor—it's also about avo
How to test spaghetti squash ripeness before cutting (no guesswork)
Even with perfect growing conditions, guessing when to harvest spaghetti squash can leave you with either underripe squash that's tough or overripe squash that's past its prime. The good news? You don't need to cut into your squash to test its ripeness.
Instead, use these three foolproof tactile tests that take just seconds each. These methods work whether your squash is growing in your garden or stored in a cool, dry place.
Why bother testing? Because a ripe spaghetti squash yields tender, strand-like flesh perfect for roasting, while an unripe one turns into a chewy mess. The key is combining visual cues with these hands-on tests for absolute confidence. Let's start with the simplest method—one that even beginners can master instantly.
Step-by-Step Ripeness Tests
-
1. The Thump Test
Gently tap the squash with your knuckles. A ripe spaghetti squash produces a deep, hollow sound—like knocking on a wooden door. If it sounds dull or flat, it's not ready yet. This test works best when the squash is at room temperature. -
2. The Stem Twist
Grasp the stem end firmly and twist gently. If the stem twists off easily (with a slight crackling sound), your squash is perfectly ripe. A stubborn stem means it needs more time. This method is especially reliable for squash still on the vine. -
3. The Flesh Probe
Use a sharp knife or fingernail to press gently into the skin near the blossom end. If the skin resists pressure and feels hard to pierce, it's ready. You should not be able to sink your nail in more than 1/8 inch. Avoid probing too hard—you don't want to damage the squash! -
4. The Weight Check
Lift the squash—ripe spaghetti squash feels heavy for its size due to concentrated sugars. Compare it to similar-sized squash: the heaviest one is the ripest. This works best when testing multiple squash at once.
Pro Tip: Combine two tests for 100% accuracy. For example, pair the thump test with the stem twist to confirm ripeness without cutting.
Timing matters most in late summer when squash mature rapidly. If you're harvesting in September or October, check ripeness every 3-5 days—squash ripen faster in cooler weather.
For gardeners in USDA Zone 6a, this means testing squash in late August to early September before the first frost hits.
Once you've confirmed ripeness, harvest immediately to preserve flavor and texture. Use a sharp knife or pruners to cut the stem, leaving 1-2 inches of stem attached to prevent rot.
Store squash in a cool, dry place (50-55°F) where it'll keep for 2-3 months. Avoid refrigerating until you're ready to use it—cold temperatures can turn the flesh mealy.
Remember: Overripe squash loses sweetness and develops a woody texture, while underripe squash stays tough and bland. Master these tests, and you'll never guess again—just harvest with confidence every time. 🎃