
Picking
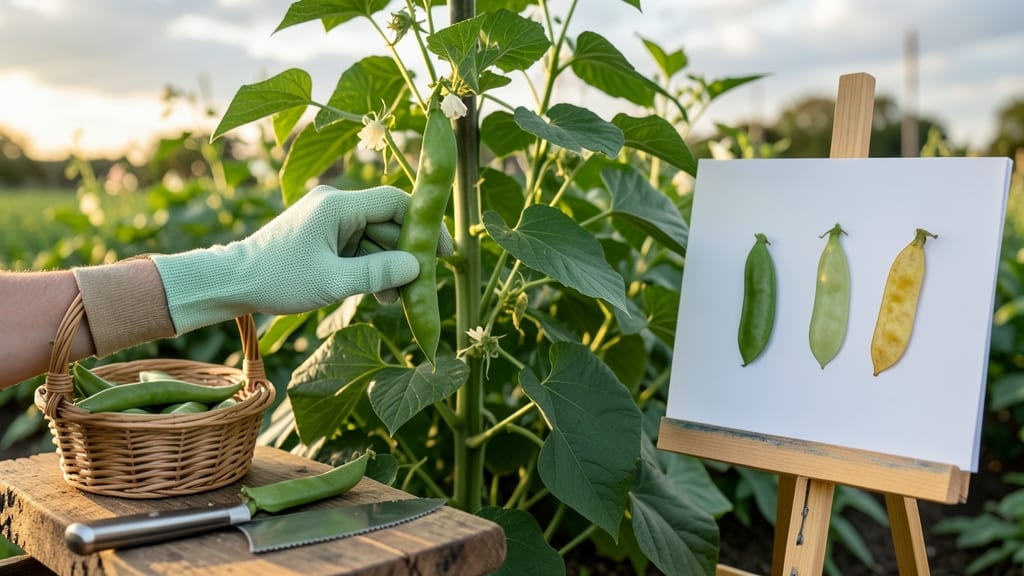
To pick beans from your garden at the perfect moment means harvesting them when they’re crisp, tender, and packed with flavor—before they turn tough or stringy.
I’ve watched homegrown green beans 🌱 go from perfect to inedible in just a few days, and the difference comes down to timing. Miss the window, and you’re left with pods that snap back like rubber bands instead of the sweet, snappy bites you crave.
Most gardeners wait too long, but the secret is simple: check for pod size (4–6 inches), a firm texture, and a bright, even color. These three cues tell you exactly when to snip—before the seeds swell or the skin toughens.
Below, I’ll break down the exact visual signals to watch for, how bean types vary, and why harvesting early keeps your plants producing all season long.
3 Visual cues to identify perfectly ripe green beans
Harvesting green beans at the right moment transforms your garden into a flavor factory. The difference between tender, sweet pods and leathery, stringy failures often comes down to timing. I’ve learned that mastering just three simple visual cues will guarantee you pick beans at their peak—every time.
These checks work for both bush beans and pole beans, regardless of variety.
First, let’s address the biggest mistake I see: waiting too long. Many gardeners assume beans are ready when they’re large, but size alone isn’t enough. You need to combine pod dimensions, color consistency, and texture firmness for perfect results.
Skipping any of these cues often leads to beans that are either underdeveloped or past their prime. The good news? These checks take less than 10 seconds per pod to verify.
-
1Pod Size: Aim for 4-6 inches long—this is the sweet spot where flavor peaks. Beans shorter than 4 inches are still developing, while anything over 6 inches becomes tough and fibrous. Measure a few pods to confirm consistency across your plants.
-
2Color Uniformity: Look for bright, even coloring—no pale spots or mottling. Green beans should be a vibrant green (or the specific hue of your variety). Dull or yellowing pods mean they’ve overstayed their welcome in the plant.
-
3Texture Test: Gently snap a pod—it should break cleanly with a crisp sound. If it bends without snapping or feels mushy, it’s past its prime. For extra confirmation, press lightly: the pod should spring back, not dent under pressure.
Pro tip: I always harvest in the morning when pods are cool and crisp. This timing also lets me check for seed development—ripe beans should have small, visible seeds that aren’t bulging. If seeds look plump and fill most of the pod, you’ve missed the window.
Remember, green beans are at their best when harvested frequently, so check your plants every 2-3 days during peak season.
Another common question I get is about variety-specific differences. While the core cues remain the same, some heirloom varieties (like Blue Lake) mature slightly slower than hybrids. For these, I extend the size range to 5-7 inches but still prioritize the texture and color checks.
The key is to adapt the size threshold while keeping the other two cues non-negotiable.
Let me share what happens when you ignore these signs. I once let a batch of Kentucky Wonder pole beans grow too large—by the time I noticed, they were 8 inches long with thick, woody walls.
The flavor was mild and bland, and the texture resembled shoe leather. That lesson taught me to harvest aggressively rather than passively waiting for "perfect" size.
For container gardening, these same rules apply, but I adjust my frequency. Potted beans often mature 1-2 days faster due to warmer root zones, so I check them daily.
The texture test becomes even more critical because space is limited—you can’t afford to let pods overgrow in a 5-gallon bucket. I’ve found that dwarf varieties like 'Blue Lake Bush' are ideal for containers because they stay compact while still hitting those 4-6 inch sweet spots.
One final tip: Harvest regularly to encourage more production. When you pick beans consistently, the plant redirects energy to producing new flowers and pods instead of letting existing ones overmature.
I’ve seen yields double when I commit to daily checks during peak season. The secret? Set a reminder or tie your harvesting to another daily habit, like watering or weeding.
Mastering these three visual cues will transform your green bean harvest from hit-or-miss to consistently delicious. Next time you’re in the garden, grab a handful of pods and test them—your taste buds will thank you.
And remember, the best beans aren’t the biggest ones; they’re the ones that snap crisply and taste sweet the moment you bite into them. 🌱
How bean variety affects harvest timing (and when to stop picking)
Not all green beans follow the same harvest rules—your variety makes a huge difference in timing and production. Bush beans and pole beans have distinct cycles, while heirloom vs. hybrid types behave differently too. Understanding these differences ensures you pick at the perfect moment for peak flavor and continuous harvests.
One key factor is harvest window length. Some varieties produce pods for just 2-3 weeks, while others keep yielding for 6-8 weeks if you pick consistently. Early harvesting also encourages plants to produce more—skipping this step can lead to tough, stringy pods and reduced future yields.
When to stop picking depends on the variety too. With bush beans, you’ll know it’s time when pods stop forming or plants turn yellow. Pole beans may need pruning to extend harvest time, but they’ll eventually slow down as temperatures drop.
If you’re growing bush beans, aim to harvest within 45-55 days of planting for the sweetest pods. These compact plants produce a single flush of pods, so timing is critical.
For pole beans, which climb trellises, you’ll enjoy a longer harvest—up to 60-70 days—if you keep picking regularly.
For heirloom varieties, flavor often peaks when pods are smaller and younger than hybrids. These types tend to have shorter harvest windows but offer unique flavors worth the effort. Meanwhile, hybrid beans are bred for consistent production and often tolerate slight delays in harvesting better than heirlooms.
Remember: the best time to pick is morning when pods are cool and crisp. Use sharp scissors or your fingers to avoid damaging the plant. Once you notice yellowing leaves or pods turning woody, it’s time to stop picking and let the plant focus on seed production.