
Picking
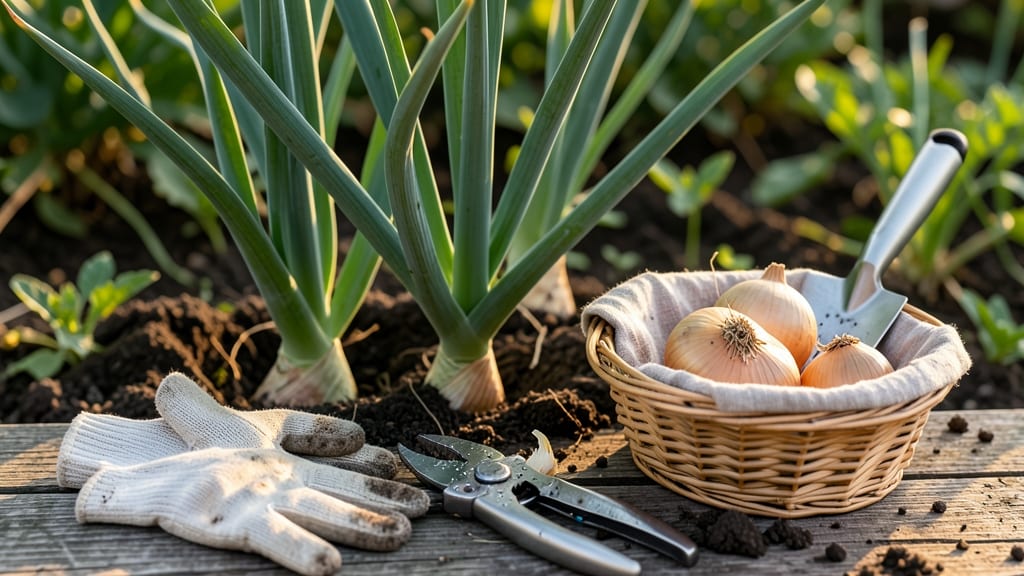
Picking onions from your garden at the right time ensures sweet, flavorful bulbs that store well—so timing is everything for a successful harvest.
If you’ve ever pulled an onion too early and ended up with a limp, pungent bulb or waited too long for a tough, bitter mess, you know how critical this moment is.
The difference between a perfectly ripe onion and a wasted harvest often comes down to three key signs: bulb size, neck dryness, and leaf color. Miss these cues, and you might as well be playing garden roulette.
In USDA Zone 6a, where spring-planted onions mature between June and July, the ideal harvest window narrows further. Too soon, and the bulbs won’t develop their full sweetness; too late, and they’ll split or rot in the ground.
But with the right knowledge, you can predict the perfect moment to pull your 🧅 harvest—no guesswork required.
Below, I’ll walk you through the three foolproof signs your onions are ready, plus how to handle them post-harvest for maximum storage life. Whether you’re a first-time gardener or a seasoned green thumb, these tips will save you from the frustration of a less-than-stellar harvest.
3 Clear signs your onions are ready for harvesting
Harvesting onions at the perfect moment ensures sweet, flavorful bulbs that store well all winter. Unlike many vegetables, onions don't ripen after picking—so timing is everything. The key lies in observing three visual and tactile clues that signal your onions are ready to pull.
These signs work for both spring-planted and fall-planted varieties, though timing shifts slightly with your USDA zone.
First-time onion growers often struggle because the plant doesn't show obvious ripening cues like tomatoes or peppers. But once you learn to read these subtle signals, you'll never guess again.
The difference between harvesting too early (small, pungent onions) and too late (soft, sprouting bulbs) comes down to understanding these three critical indicators—let's break them down step by step.
- 🟡 1. Leaf Color Change: Tops turn straw-colored and flatten (not just yellow—full dry-down).
- 🧅 2. Bulb Size: Diameter reaches 1-2 inches (hold between fingers—should feel firm like a tennis ball).
- ✂️ 3. Neck Dryness: Stem shrivels and tightens at the bulb (gently pinch—skin should resist peeling).
Pro Tip: Morning harvests prevent neck breakage—onions are most resilient after nighttime moisture absorption.
Let's start with the most obvious sign: leaf color changes. When your onion tops begin turning from vibrant green to a straw-like yellow, it's nature's way of saying "pick me now."
This color shift happens because the plant redirects nutrients from the leaves to the bulb, a process called maturation. Ignore this cue, and your onions may bolt (send up flower stalks), turning bitter and woody.
For spring-planted onions in USDA zones 6a-8b, this usually occurs in late June to early July, while fall-planted varieties show these signs in October. Pay close attention to the top's angle too—when leaves flatten (rather than stand upright), that's your final confirmation.
Use a small hand trowel to gently loosen soil around the base before pulling.
The second clue lies in bulb size and firmness. Reach down and grasp an onion bulb between your thumb and forefinger—it should feel dense and firm, like a small tennis ball.
If it's soft or mushy, it's overripe. For storage onions, aim for 1.5-2 inch diameters; green onions can be harvested smaller (1 inch) when leaves reach 6-8 inches tall.
To test without damaging the plant, gently squeeze the bulb. A ripe onion will resist compression slightly, while an underripe one feels loose inside its skin. This tactile check is especially useful for short-day onions, which mature faster in cooler climates.
Remember: bulb size correlates directly with flavor intensity—larger onions develop deeper sweetness.
Finally, examine the neck area where the bulb meets the stem. When onions are ready, this stem shrivels and the skin becomes papery. Try peeling back a tiny section—if the skin resists (rather than sliding off easily), your onions are perfect.
This dryness prevents rot during storage by sealing the bulb's moisture. For long-storage varieties, this neck tightness is non-negotiable.
One common mistake is waiting until the entire plant collapses. By then, bulbs may sprout or develop soft spots. Instead, harvest when 70-80% of leaves show these signs—this gives you a 2-3 week harvest window before quality declines.
For green onions, simply snip leaves 1-2 inches above the bulb; they'll keep regrowing for 3-4 cuttings.
After pulling, let onions cure in the sun for 3-5 hours to toughen skins. Store them in a dry, dark place with good airflow (like a mesh bag) to prevent spoilage.
Properly harvested onions can last 6-8 months—making these harvesting signs your ticket to a pantry full of homegrown flavor.
Now that you've mastered these three key indicators, you'll never second-guess onion harvest time again. The next step? Learn how to avoid common harvesting mistakes that ruin flavor and storage life—we'll cover that in our next section.
Onion harvesting mistakes that ruin flavor and storage life
Harvesting onions at the wrong time can turn your flavorful bulbs into bitter, pungent disappointments. Even if you've nurtured them perfectly, a few common harvesting mistakes can ruin both taste and storage life. The key is understanding when to pull them and how to handle them afterward.
One of the biggest errors is waiting too long to harvest. Overripe onions develop tough, stringy layers and lose their sweetness. On the flip side, pulling them too early results in small, underdeveloped bulbs that won't store well.
Even the way you handle the onions after pulling can affect their shelf life.
Another critical mistake is ignoring weather conditions before harvesting. Rain or high humidity can lead to rot, while dry, sunny days are ideal for curing. If you rush the drying process, your onions may spoil quickly in storage. Let's dive into these common pitfalls and how to avoid them.
⚠️ When to Pick Onions from Garden: Critical Timing Mistakes
Harvesting too early (when bulbs are <1 inch) leads to poor storage—they'll sprout or rot. Waiting too late (after tops fully brown) causes bitterness and tough skins. Best time: When 60% of tops yellow and necks tighten but haven't collapsed. Use a knife test: Gently probe the bulb—if skin resists, it's ready!
Many gardeners make the mistake of pulling onions by the tops instead of the bulb. This can damage the root system and leave the onion vulnerable to rot. Always grasp the base of the onion and give it a gentle tug to loosen it from the soil.
If it doesn't come out easily, wait a few days—it's not ready yet.
After harvesting, onions need proper curing to develop their protective layers. Skipping this step means your onions won't store well. Lay them in a dry, shaded area with good airflow for 1-2 weeks.
Avoid direct sunlight, which can scorch the skins. If you rush this process, your onions may sprout prematurely or develop mold.
One final mistake is storing onions incorrectly. Never refrigerate them—the cold and humidity cause them to spoil quickly. Instead, keep them in a cool, dark, and well-ventilated spot, like a mesh bag or hanging braid.
This helps them last 4-6 months or longer. Proper storage is just as important as the harvest itself!
By avoiding these common mistakes, you'll enjoy sweeter, longer-lasting onions that stay fresh all season. Pay attention to the signs of readiness, handle them carefully, and give them time to cure—your taste buds will thank you! 🧅