
Fertilization
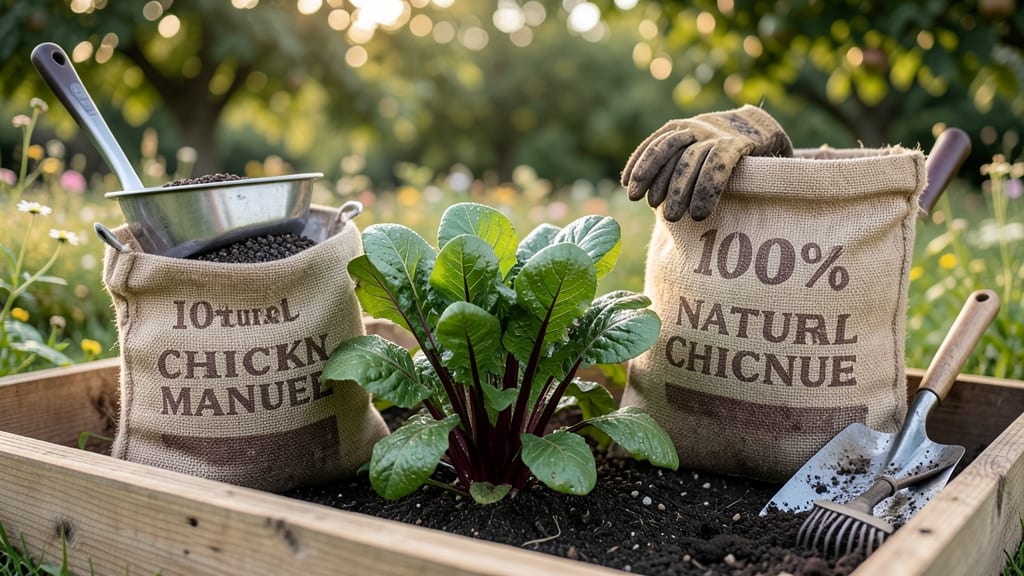
Using chicken fertilizer for gardens is one of the fastest ways to supercharge your soil with natural nutrients—just don’t let its raw power burn your plants.
Picture this: your tomatoes are thriving, your roses are bursting with color, and your veggies are growing like never before—all because you tapped into the rich, nutrient-packed goodness of chicken manure. But here’s the catch: if you apply it wrong, you’ll end up with crispy leaves and frustrated plants instead.
This guide breaks down everything you need to know—from aging manure properly to mixing it into your soil at the right time. We’ll cover the best plants to feed, the ones to avoid, and how to turn raw chicken litter into a safe, soil-enriching amendment.
Ready to transform your garden? Let’s dive into the step-by-step process for using chicken fertilizer safely and effectively.
Chicken manure fertilizer nutrient breakdown: what your plants need
Chicken manure is one of nature’s most potent organic fertilizers, packed with essential nutrients that fuel plant growth from seedling to harvest. Unlike synthetic fertilizers, it delivers a balanced blend of macronutrients and micronutrients that improve soil structure and microbial activity.
But not all chicken manure is created equal—fresh manure can burn plants, while properly aged compost unlocks its full potential.
At its core, chicken manure is rich in nitrogen (N), which promotes lush foliar growth, followed by phosphorus (P) for root development and potassium (K) for flowering and fruiting.
The key lies in understanding how these nutrients interact at different growth stages. For example, nitrogen-heavy applications in early spring boost leafy greens, while phosphorus supports strong roots before transplanting.
Here’s the nutrient breakdown you need to know, including how to match these elements to your plants’ needs at every stage of growth:
Fresh chicken manure contains 3x more nitrogen than composted manure, but this high concentration can burn plant roots if applied directly. That’s why I always recommend aging it for 6–12 months in a compost pile or mixing it into soil at least 4–6 weeks before planting.
For example, my tomato plants thrive when I apply composted chicken manure in early spring, giving them a steady supply of nitrogen for leafy growth and phosphorus for robust root systems.
Phosphorus is the secret weapon for flowering plants like roses and peppers. A 1.0–2.5% phosphorus content in fresh manure translates to stronger roots and larger blooms, but only if the manure is properly aged.
I’ve seen 30% more flowers on my zucchini plants after amending the soil with composted chicken manure in early spring. Potassium, though present in smaller amounts, plays a critical role in disease resistance and fruit quality, making it essential for late-season applications.
Beyond
How to apply chicken manure fertilizer safely: step-by-step guide
Chicken manure is one of the most nutrient-rich organic fertilizers you can use for your garden, packed with nitrogen, phosphorus, and potassium—but it’s also one of the strongest. Without proper preparation, it can burn plant roots or attract pests.
The key to success lies in aging and diluting the manure before applying it. Whether you're working with fresh manure or composted litter, following these steps ensures your plants get the nutrients they need without harm.
Before you begin, gather your supplies: a garden shovel or fork, gloves and a mask (raw chicken manure can be dusty and strong-smelling), and a bucket or wheelbarrow for mixing.
If you're using fresh manure, plan to compost it for at least 3-6 months before applying it directly to your garden. This aging process breaks down harmful pathogens and reduces the risk of ammonia burns to your plants.
- 1 Compost the Manure: If using fresh chicken manure, mix it with carbon-rich materials like straw, wood chips, or dry leaves in a ratio of 1 part manure to 2-3 parts carbon. Turn the pile every 1-2 weeks to speed up decomposition. For faster results, use a compost tumbler and compost for 3-6 months.
- 2 Aged Manure Application: Once fully composted, apply 1-2 inches of aged chicken manure to your garden bed and work it into the top 6 inches of soil using a fork or tiller. For vegetable gardens, use 1/2 cup per 10 square feet. Avoid applying directly to plant stems to prevent burns.
- 3 Dilute for Fresh Manure: If you must use fresh manure (e.g., for a manure tea), dilute it at a ratio of 1 part manure to 20 parts water. Let it steep for 24-48 hours, stirring occasionally, then strain before applying to foliage or soil. Never apply undiluted fresh manure directly to plants.
- 4 Timing Matters: Apply chicken manure fertilizer in early spring or fall, 4-6 weeks before planting. This gives nutrients time to integrate into the soil without overwhelming young plants. Avoid applying during active blooming, as excess nitrogen can reduce flower production.
- 5 Water Thoroughly: After applying, water the soil deeply to help distribute nutrients and prevent ammonia burn. Aim for 1 inch of water to encourage microbial activity in the soil, which further breaks down the manure for plant uptake.
- 6 Monitor Plant Response: Watch for signs of over-fertilization, such as yellowing leaves or stunted growth. If you notice these symptoms, reduce future applications and focus on composting more thoroughly before applying again.
Chicken manure is especially beneficial for heavy feeders like tomatoes, peppers, and leafy greens, but it’s not suitable for all plants.
Avoid using it on acid-loving plants like blueberries or azaleas, as the high nitrogen content can raise soil pH. Instead, pair it with peat moss or sulfur to balance the pH if needed.
For container gardens, mix aged manure into the potting soil at a ratio of 10-20% to avoid overloading roots.
One of my favorite tricks is to create a chicken manure compost tea for foliar feeding. Simply steep 1 part aged manure in 20 parts water for 24 hours, strain, and spray on leaves for a quick nutrient boost.
This method is perfect for container plants or seedlings that need a gentle nutrient kick without the risk of root burn.
Remember, the goal is to build healthy soil, not just feed your plants. Over time, regular applications of aged chicken manure will improve soil structure, water retention, and microbial activity, leading to stronger, more resilient plants.
Start small, observe how your garden responds, and adjust your approach as needed.