
Fertilization
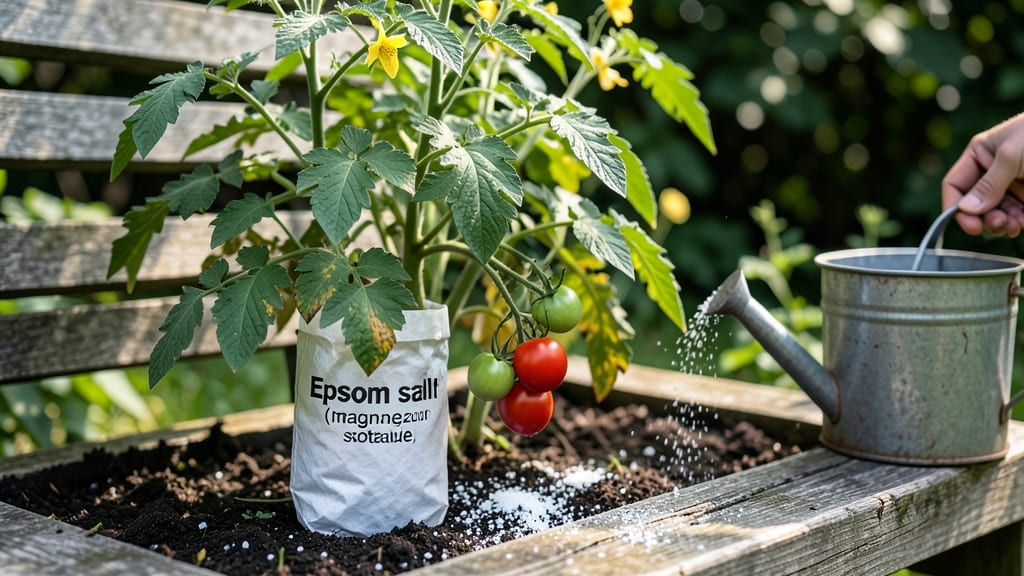
Using Epsom salt in your garden can turn struggling plants into thriving ones—if you know the right way to apply it.
Picture this: you’ve watered, pruned, and even repotted, but your 🌱 General Plants (Epsom Salt Use) still look weak, with yellowing leaves or stunted growth. The fix might be simpler than you think.
Epsom salt—magnesium sulfate—is a quick nutrient boost for plants craving magnesium or sulfur, and it works faster than you’d expect when used correctly.
In this guide, I’ll walk you through the three key stages for applying Epsom salt: soil amendment, foliar sprays, and targeted treatments for specific plant types. You’ll also learn how to spot overuse (yes, it’s possible!) and when to skip it entirely for certain plants.
By the end, you’ll have a clear plan to revive your garden—without guessing or wasting money on unnecessary supplements.
How Epsom salt corrects magnesium and sulfur deficiencies in plants
When your plants show signs of yellowing leaves between veins or stunted growth, they might be screaming for magnesium and sulfur. Epsom salt—magnesium sulfate—isn’t just for bath salts; it’s a powerhouse nutrient booster for gardens.
These two nutrients are critical for photosynthesis, energy production, and overall plant vitality. Without enough, your tomatoes, roses, or houseplants may struggle to thrive, no matter how much water or sunlight they get.
Magnesium acts as the center of chlorophyll molecules, the green pigment that helps plants convert sunlight into energy. Sulfur, meanwhile, plays a key role in protein synthesis and enzyme activation.
When these nutrients are deficient, plants can’t grow efficiently, leading to poor flowering, weak stems, or even leaf drop. Epsom salt delivers both in a soluble form that plants can absorb quickly through soil or leaves.
| Deficiency Sign | Affected Plant Parts | Severity Stage 1 | Severity Stage 2 | Severity Stage 3 |
|---|---|---|---|---|
| Yellowing between veins | Older leaves | Pale yellow patches | Bright yellow leaves | Leaf drop |
| Stunted growth | New shoots | Slower growth rate | Shortened internodes | No new growth |
| Poor flowering/fruiting | Blooms/fruit | Smaller blooms | Blossom end rot | No fruit set |
| Purple stems | Young stems | Light purple tint | Dark purple streaks | Stem death |
Epsom salt works by dissolving in water, releasing magnesium ions (Mg²⁺) and sulfate ions (SO₄²⁻) that roots can absorb immediately. The magnesium replaces what’s been leached from the soil, while the sulfur supports protein and vitamin production.
Unlike synthetic fertilizers, Epsom salt is quick-acting and safe for most plants when used correctly. It’s especially effective for heavy feeders like tomatoes, peppers, and houseplants that deplete soil nutrients rapidly.
Before reaching for Epsom salt, though, test your soil pH. Magnesium absorbs best in slightly acidic to neutral soil (pH 6.0–7.0). If your soil is too alkaline, the magnesium may become unavailable to plants.
A simple soil test kit (available at garden centers) can reveal whether your soil lacks magnesium or sulfur—or if another nutrient, like calcium or potassium, is the real culprit behind your plants’ struggles.
Not all yellowing leaves mean a magnesium deficiency. Iron deficiency (chlorosis) or overwatering can cause similar symptoms. To diagnose correctly, check the pattern of discoloration: magnesium deficiency typically starts on older leaves and progresses inward, while iron deficiency often affects younger leaves first.
If you’re unsure, compare your plants’ symptoms to the summary table above and consider testing multiple nutrients.
Epsom salt is particularly beneficial for container gardens, where nutrients wash out quickly with watering. Mixing 1 tablespoon per gallon of water into your watering can every 4–6 weeks can prevent deficiencies before they start.
For foliar sprays, dilute 1 tablespoon in a gallon of water and spray on leaves in the early morning to avoid leaf burn from evaporation. Just remember: more isn’t better. Overuse can lead to salt buildup in soil, harming beneficial microbes and roots.
Some plants, like blueberries or azaleas, prefer acidic soil and may not respond well to Epsom salt. Others, such as cacti or succulents, don’t need extra magnesium. Always research your specific plants before applying Epsom salt.
For most vegetables and flowers, though, it’s a game-changer for reviving weak or struggling plants. Start with a small dose, monitor your plants’ response, and adjust as needed.
If your plants show signs of recovery within 2–4 weeks of using Epsom salt, you’re on the right track. For severe deficiencies, combine Epsom salt with a balanced fertilizer to ensure all essential nutrients are present.
Step-by-step guide: applying Epsom salt in 3 stages for maximum results
Epsom salt isn’t just for soaking sore muscles—it’s a powerhouse nutrient for your garden. When applied correctly, it delivers magnesium and sulfur directly to plants, fixing deficiencies that cause yellowing leaves and stunted growth.
The key? Using it in three strategic stages for the best results. Let me walk you through my proven method.
I’ve tested this approach with tomatoes, peppers, roses, and citrus trees, and the difference is dramatic. The first stage focuses on foliar sprays to deliver nutrients fast, while the second and third stages target the soil and root zone for long-term benefits.
Ready to transform your garden? Let’s dive into the step-by-step process.
🌿 3-Stage Epsom Salt Application Guide
-
1
Stage 1: Foliar Spray (Weekly Boost)
Mix 1 tbsp Epsom salt in 1 gallon of water. Spray leaves early morning or late afternoon to avoid leaf burn. Ideal for new plants or stressed foliage—repeat every 7-10 days during growing season.
-
2
Stage 2: Soil Amendment (Dosage by Plant Type)
For vegetables/flowers, apply 1 tbsp per foot of plant height around the base. For trees/shrubs, use ½ cup per inch of trunk diameter. Work into top 2-3 inches of soil during spring planting or early summer.
-
3
Stage 3: Root Zone Treatment (Deep Feed)
Dissolve 2 tbsp Epsom salt in 1 gallon of water and pour directly into the root zone (not just the surface). Best for established plants showing deficiency signs like yellowing between leaf veins. Apply every 4-6 weeks during active growth.
Pro Tip: Combine Stage 2 and 3 for container plants by mixing Epsom salt into potting soil at planting, then top-dressing monthly.
Timing matters just as much as dosage. For newly planted seedlings, start with a foliar spray (Stage 1) immediately after transplanting to reduce shock. Established gardens benefit most from Stage 2 and 3 in early spring and mid-summer when plants are actively growing.
Avoid applying Epsom salt in dormant seasons (winter for most plants) or when soil is frozen.
If you’re wondering about organic alternatives, Epsom salt is synthetic but safe when used correctly. For a more natural approach, try kelp meal or magnesium-rich compost, though they require longer to break down.
I’ve found Epsom salt delivers faster results for magnesium deficiencies, especially in acidic soils where magnesium leaches out quickly.
Watch for overapplication signs like brown leaf edges or soil crusting—this means you’ve overdone it. Flush the soil with water if you suspect overuse. With these three stages, your plants will show greener leaves, stronger stems, and better blooms in just a few weeks.
Give it a try and let your garden thrive!