
Tools
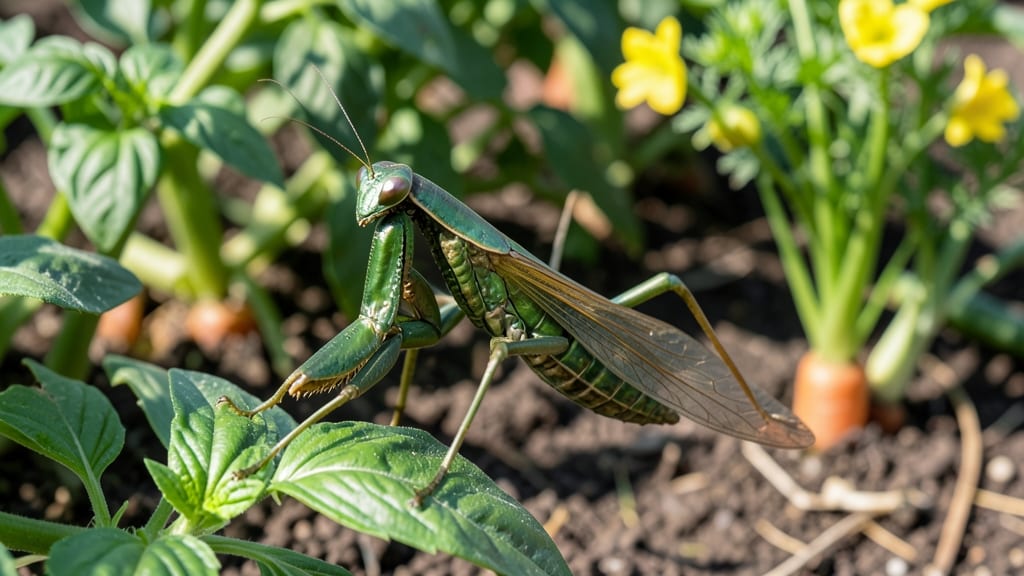
Keeping bugs out of your vegetable garden 🥬 is all about smart, hands-off strategies that work before pests even get close.
Picture this: You’ve just planted your spring crops, the soil is rich, and the weather is perfect—until the aphids show up like an uninvited party. The good news? The right physical barriers can stop them cold, without sprays or fuss.
From lightweight row covers to simple copper tape, these methods protect your plants while keeping your garden chemical-free. No more guessing games—just reliable, long-term defense that works for Zone 6a and beyond.
Below, I’ll walk you through the top 5 barriers that actually stop bugs, how to install them for maximum results, and the common mistakes that make them fail. Ready to reclaim your garden?
Top 5 physical barriers to stop bugs before they reach your plants
When aphids, cabbage worms, and squash bugs turn your vegetable garden into a pest paradise, chemical sprays become a last resort. Instead, I rely on physical barriers—science-backed solutions that block bugs before they even land.
These methods protect your crops while keeping your soil free from harsh chemicals. The key is choosing the right barrier for your specific pests and plants.
Physical barriers work by creating a mechanical block that pests simply can't penetrate. Unlike sprays that kill beneficial insects too, these solutions target only the unwanted visitors. For example, fine mesh netting stops flying insects like cabbage moths, while copper tape disrupts the life cycle of slugs and snails.
Let’s explore the top five barriers that have worked best in my garden—and how to use them effectively.
Why physical barriers win: They’re reusable, chemical-free, and often more effective than sprays for certain pests. Plus, they let you grow organic vegetables without compromising on flavor or safety. The best part? You can mix and match these solutions to create a layered defense system for your garden.
| Barrier Type | Best For | Mesh Size | Lifespan | Installation Tip |
|---|---|---|---|---|
| Floating Row Covers | Cabbage worms, flea beetles, aphids | 0.6mm - 1.0mm | 3-5 years | Use hoops or stakes to create 6-12 inches of air space for ventilation. |
| Mesh Netting | Squash bugs, tomato hornworms, flying insects | 0.2mm - 0.5mm | 1-3 years | Secure edges tightly with clips or weights to prevent gaps. |
| Copper Tape | Slugs, snails, cutworms | N/A (physical barrier) | 5+ years | Wrap around container edges or create a 2-inch-high collar. |
| Collars (Cardboard/PVC) | Cutworms, wireworms, root maggots | N/A (physical collar) | 1 season (cardboard) or 5+ years (PVC) | Insert 2-3 inches deep into soil around young plants. |
| Fine Wire Mesh | Rabbits, deer, larger pests | 1/4" - 1/2" grid | 10+ years | Bury 6-12 inches deep around garden edges for underground protection. |
My go-to barrier for flying insects like cabbage moths is floating row covers. These lightweight fabrics allow sunlight and water to reach your plants while blocking pests. I’ve used them successfully on broccoli, cauliflower, and kale—crops that are magnets for cabbage worms.
The key is choosing the right mesh size: a 0.6mm opening stops most flying insects, while 1.0mm lets in pollinators like bees.
For ground-dwelling pests like slugs and cutworms, I swear by copper tape. When slugs crawl over it, the copper creates a mild electric charge that deters them. It’s a simple but effective solution for potted plants or young seedlings.
Just wrap it around the container edges or create a collar around the base of your plants. It’s reusable and lasts for years, making it a cost-effective choice.
If you’re dealing with squash bugs or tomato hornworms, mesh netting is your best bet. I use a fine 0.2mm mesh to cover my squash and tomato plants. The trick is securing the netting tightly—even a small gap can let pests sneak in.
For larger plants, I use hoop houses or stake the netting to the ground to create a complete barrier.
Don’t overlook collars for young plants. Whether made from cardboard or PVC pipes, these simple barriers block cutworms and other soil-dwelling pests from munching on your seedlings. For cardboard collars, I cut them into rings and bury them around the base of my pepper and tomato plants.
PVC collars are more durable and can be reused season after season.
For gardens plagued by rabbits or deer, a fine wire mesh fence is a game-changer. I bury the mesh at least 6 inches deep to prevent digging. This barrier also works well for protecting asparagus and rhubarb from larger pests.
The mesh is sturdy and lasts for years, making it a worthwhile investment for long-term pest control.
Pro tip: Combine barriers for maximum protection. For example, use a row cover to block flying pests and add
How to install physical barriers for maximum pest protection
Installing physical barriers is one of the most effective ways to keep pests out of your vegetable garden without chemicals. The key is timing—apply barriers before pests arrive in spring, and adjust them as your plants grow.
I’ve found that combining row covers, mesh cages, and collars creates a layered defense that works year after year.
Start by assessing your biggest threats. For example, cabbage worms need fine mesh (0.6mm openings), while squash bugs require heavier duty (1.5mm). My go-to materials are lightweight floating row covers for broad protection and individual plant collars for root pests like cutworms.
The goal is to block pests while allowing pollinators like bees to access plants when needed.
Step-by-Step Installation Guide
- 1 Measure and cut your barrier material to fit your garden beds or individual plants. For row covers, add 6-12 inches extra on all sides to secure edges. Use scissors for clean cuts—never tear fabric, as rough edges create gaps.
- 2 Install support frames for row covers using hoops (PVC pipes or wire) spaced every 3-4 feet. Bury the ends 6 inches deep or weigh them down with bricks to prevent pests from crawling underneath. For cages, use wire mesh (1/4-inch hardware cloth) bent into cylinders.
- 3 Secure edges tightly with clips, staples, or soil weights. Leave no gaps—even a 1-inch opening lets aphids or whiteflies slip through. For collars, bury them 1-2 inches deep around stems to block cutworms and wireworms.
- 4 Ventilate when needed. Remove covers during pollination season (e.g., for cucumbers or squash) and replace them at dusk. For long-term crops like tomatoes, use breathable mesh that allows airflow while blocking pests.
- 5 Monitor and adjust barriers weekly. Check for tears, loose edges, or pest entry points. Replace damaged sections immediately—even small holes defeat the purpose. In late summer, remove barriers for harvesting or plant hardening before first frost.
Timing is everything. For early-season pests like aphids, install barriers as soon as seedlings emerge. For late-season threats (e.g., hornworms), wait until plants are established but before pests appear. I’ve had the most success with reusable fabric row covers—they last 5-7 years if stored dry and clean.
Don’t forget to rotate barrier types annually to prevent pest adaptation. For example, switch from plastic row covers to mesh cages every other year. This keeps pests guessing while maintaining your garden’s health. With the right setup, you’ll see a 90% reduction in damage within weeks.
Pro tip: Pair physical barriers with companion planting (e.g., basil near tomatoes) for extra protection. The combination creates a multi-layered defense that’s nearly foolproof. 🌱