
Watering
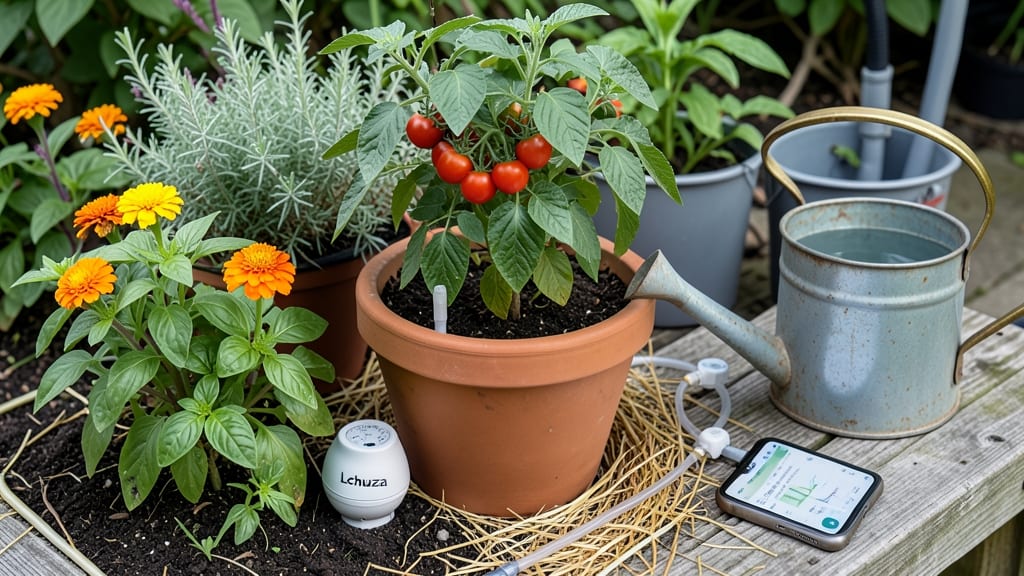
To water your garden while away, you need a system that delivers moisture on demand without drowning roots or wasting water.
Leaving your garden unattended—even for a few days—can turn lush 🌱 General Garden Plants into wilted casualties if you don’t prepare. The right self-watering solutions ensure your garden thrives while you’re away, without breaking the bank or requiring complex setups.
Whether you’re heading out for a weekend or a two-week vacation, the key is balancing water retention with airflow to prevent root rot. Too little, and your plants gasp for air; too much, and they suffocate.
I’ll walk you through the most efficient methods—from no-fuss drip lines to clever DIY setups—that keep your garden hydrated without turning your absence into a disaster.
By the end, you’ll know which systems work best for your space, how to tweak them for drought-tolerant vs. moisture-loving 🌱 General Garden Plants, and even how to monitor soil moisture remotely. No more coming home to a sad, thirsty garden—just healthy, happy plants waiting for you.
Best self-watering systems for vacation-proof gardens
When you're planning a vacation, your garden shouldn't suffer from neglect. The key to keeping your herbs, vegetables, and flowers thriving while you're away lies in choosing the right self-watering system.
Whether you have a small container garden or a sprawling backyard plot, there's a solution tailored to your needs and budget. Let's explore the top options that balance efficiency, cost-effectiveness, and ease of setup.
From passive wicking systems that require minimal maintenance to smart irrigation controllers that adjust based on weather forecasts, modern solutions make it easier than ever to protect your garden investment. The best system depends on your garden's size, your plants' water needs, and how long you'll be away.
Below, we'll compare the most popular options so you can make an informed decision.
Note: Always test your system for at least 48 hours before your trip to ensure it's working properly. This simple step can prevent root rot or overwatering while you're away.
For small gardens or container plants, DIY wicking beds or self-watering containers are excellent budget-friendly options. These systems use a reservoir to slowly release moisture to the roots, reducing the risk of overwatering while keeping your plants hydrated.
They're perfect for herbs like basil and parsley, or vegetables such as lettuce and spinach that prefer consistent moisture.
If you're away for longer than two weeks, consider investing in a drip irrigation system. These systems deliver water directly to the soil, minimizing evaporation and ensuring even distribution.
They're ideal for larger gardens or plots with diverse plant types, as you can customize the flow rate and coverage area. Plus, they're highly scalable, making them a great long-term solution.
For gardeners who love technology, smart irrigation controllers take the guesswork out of watering. These devices connect to weather forecasts and adjust watering schedules automatically. While they come with a higher price tag, they offer unmatched convenience and can significantly reduce water waste.
They're perfect for those with busy schedules or large properties that require precise water management.
Don't overlook the simplicity of ollas—ancient terracotta pots that slowly release moisture into the soil. They're particularly effective for root crops like carrots and potatoes, as well as Mediterranean plants that thrive in dry conditions.
Ollas are affordable, easy to set up, and can last for years with proper care. They're a fantastic option if you're looking for a low-tech, sustainable solution.
Finally, for those with lawns or large garden beds, a hose bibb timer is a simple and effective way to keep your garden hydrated. These timers attach directly to your outdoor spigot
How to set up a DIY self-watering system in under 30 minutes
Worrying about your garden drying out while you're away is a thing of the past with a DIY self-watering system. Using simple household items, you can create a low-cost wicking bed that keeps your plants hydrated for up to two weeks without electricity.
This method works perfectly for herbs, lettuce, and container plants—ideal for small gardens or balconies.
Before starting, gather terracotta pots (or plastic containers), landscape fabric, pebbles, and a large bucket or reservoir. The key is creating a moisture reservoir that slowly releases water to your plants' roots.
This system mimics natural water uptake, preventing both overwatering and drought stress. Let’s get started with these five simple steps!
Prepare Your Container
Choose a large container (bucket, bin, or trough) with drainage holes. Line the bottom with landscape fabric to prevent soil from clogging the reservoir. Cut a hole in the fabric for the terracotta pot (or plant container) to sit inside.
Create the Moisture Wick
Fill the terracotta pot halfway with pebbles (or broken pottery shards). This layer acts as a wick, drawing water upward from the reservoir. Place the pot in the hole you cut in the fabric, ensuring the pebbles touch the bottom of the container.
Fill the Reservoir
Add potting mix around the terracotta pot, leaving space for the water reservoir. Fill the container’s base with water until it reaches 1-2 inches below the pebbles. This ensures a steady water supply without drowning the roots.
Plant Your Greens
Fill the terracotta pot with moisture-retentive soil (mix in coco coir for extra hydration). Plant shallow-rooted crops like basil, lettuce, or strawberries, pressing gently to secure them. Water lightly to settle the soil.
Test and Troubleshoot
Check for leaks by placing the setup in a sink. If water overflows, adjust the reservoir level or add more pebbles. For longer trips, top off the reservoir every 3-4 days. Avoid placing in direct sunlight to prevent evaporation.
This self-watering system is perfect for herbs, leafy greens, and small vegetables that thrive in consistent moisture. For larger plants, scale up by using multiple terracotta pots or a larger reservoir.
Always monitor the water level before long trips to ensure your garden stays hydrated and happy while you’re away.
Pro tip: Add a floating wick (like a length of rope) to the reservoir for extra-large containers to distribute water evenly. With this setup, you’ll return to a vibrant, thriving garden—not a sad, wilted mess! 🌱