
Picking
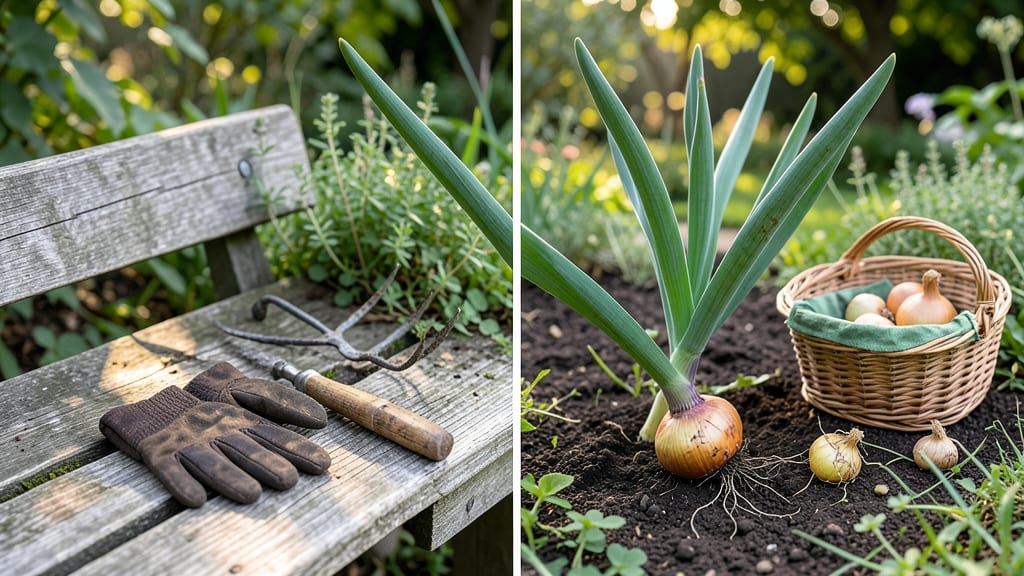
Harvesting onions from the garden at the right time ensures sweet, flavorful bulbs 🧅 — and skipping this step can turn your hard work into bitter, tough disappointment.
Picture this: you’ve nurtured your onions all season, only to pull them too early and end up with tiny, stringy scraps. Or worse, you wait too long and watch them bolt or rot in the soil.
The difference between these outcomes comes down to knowing exactly when those tops yellow, when the neck tightens, and when the bulbs are firm enough to store.
In Zone 6a, where spring planting kicks off in March and harvests peak in July-August, timing is everything. Miss the window, and you’re left with either underdeveloped bulbs or ones that’ve already started to spoil.
But get it right, and you’ll have onions that store beautifully through winter—no guesswork, just crisp, reliable flavor.
Below, I’ll walk you through the top 5 leaf tests to pinpoint the perfect harvest moment, plus how to dig, cure, and store them for maximum shelf life. No more second-guessing—just foolproof results.
5 Leaf tests to determine when onions are ready for harvest
Knowing when to harvest onions from your garden is all about reading the leaf signals your plants send. Unlike many vegetables, onions don’t ripen like fruit—they mature based on leaf color changes and bulb development.
Miss these cues, and you might end up with soft, pungent bulbs or bitter green onions that overmatured. The good news? Five simple leaf tests will tell you exactly when to dig.
Green onions and storage onions share some similarities, but their harvest thresholds differ. For green onions (scallions), you’re harvesting the leaves and stems, while storage onions need fully developed bulbs.
Both, however, rely on leaf condition as the primary indicator. Let’s break down each test so you can harvest at peak flavor every time.
🌱 Pro Tip: Always harvest onions on a dry, sunny morning after the dew has evaporated. This reduces rot risk and ensures cleaner cuts.
- 1. Leaf Color Shift: Green tops turn yellow-brown and flop over (storage onions).
- 2. Leaf Size Reduction: Top leaves shrink to half their size and feel dry to touch.
- 3. Papery Skin Formation: Bulb neck tightens, and dry, papery skin covers 50%+ of bulb.
- 4. Bulb Firmness Test: Gently squeeze bulb—it should feel firm and round, not soft.
- 5. Green Onion Height: Harvest green onions when leaves reach 6-8 inches tall (before flowering).
For storage onions, the leaf color shift is your first warning. When the green tops turn yellow-brown and flop over, it’s time to act. This usually happens 2-3 weeks before the bulb is fully mature.
If you wait too long, the tops may bolt (flower), signaling the bulb is past its prime.
The leaf size reduction test is subtle but critical. Healthy onion leaves should be thick and vibrant. When they shrink to about half their original size and feel dry, the bulb is nearing readiness.
This is especially true for yellow and red onion varieties, which mature slightly later than whites.
One of my favorite tests is checking for papery skin formation. Gently brush away the soil around the bulb’s neck. If you see dry, papery skin covering at least 50% of the bulb, it’s ready.
This skin protects the onion during storage and is a clear sign of maturity. Ignore this cue, and you risk soft, rotting bulbs.
The bulb firmness test is a tactile check that never fails. When the onion top flops, dig up one bulb and gently squeeze it. A ready bulb should feel firm and round, not soft or squishy.
Soft bulbs mean you harvested too early, while bulbs that feel hollow or papery were left too long in the ground.
Green onions are a different story—they’re harvested for their leaves and stems, not bulbs. Use the height test: cut them when they reach 6-8 inches tall. For continuous harvests, leave the white base intact so new leaves regrow. This method works for bunching onions and scallions, which are often grown as cut-and-come-again crops.
Regional climate matters! In hotter zones (USDA 8-10), onions may mature faster due to longer daylight hours. In cooler zones (USDA 3-6), they might need extra weeks. Always adjust your harvest timeline based on your local last frost date and average first frost.
Overlooking these leaf tests can lead to bitter, pungent onions or bolted tops. But when you nail the timing? You’ll enjoy sweet, flavorful bulbs that store beautifully all winter. Next time you’re in your garden, take a closer look at those leaves—they’re whispering harvest secrets!
How to harvest onions properly: step-by-step for bulb and green varieties
Once your onions show those perfect harvest signs, timing and technique matter just as much as recognizing readiness. A rushed harvest can bruise bulbs, while waiting too long risks flavor loss or rot.
I’ve learned that dry weather and sharp tools make all the difference in preserving quality through storage.
For bulb onions, you’ll need a few essential tools: a sharp garden fork, pruning shears, and a clean, dry workspace. Green onions, on the other hand, require only a knife and gentle hands.
Let’s break down the process so you can enjoy onions that store beautifully and taste their best.
Step-by-Step Harvesting Guide
- 1 Choose the right day: Harvest on a dry, sunny morning after the dew has evaporated. This reduces disease risk and speeds up drying.
- 2 Loosen the soil: Use a garden fork to gently lift onions from the soil, working the fork in a circular motion around the bulb. Avoid piercing the bulbs themselves.
- 3 Remove excess soil: Shake off loose dirt, but don’t wash the bulbs. Use your fingers or a soft brush to remove stubborn soil clinging to the necks.
- 4 Trim the tops: For storage onions, cut the tops back to about 1 inch above the bulb using clean pruning shears. For green onions, harvest by snipping just above the soil line.
- 5 Cure the bulbs: Lay onions in a single layer in a dry, shaded area with good air circulation for 2-3 weeks. This toughens the skins and prevents rot during storage.
- 6 Store properly: Once fully cured, store onions in a cool, dark place with good ventilation, like a mesh bag in a pantry. Avoid plastic bags to prevent moisture buildup.
If you’re harvesting green onions, the process is simpler: just snip the outer leaves when they reach 6-8 inches tall, leaving the roots intact. This encourages regrowth for multiple harvests. For bulb onions, never wash before curing—moisture is the enemy of long-term storage.
Common mistakes I’ve seen include harvesting on wet days (which promotes rot) or curing in direct sunlight (which can scorch the bulbs). Always prioritize gentle handling and proper drying time—these small details make a huge difference in storage life and flavor.
With these steps, your onions will stay fresh and flavorful for months, ready to elevate any dish. Happy harvesting! 🧅