
Picking
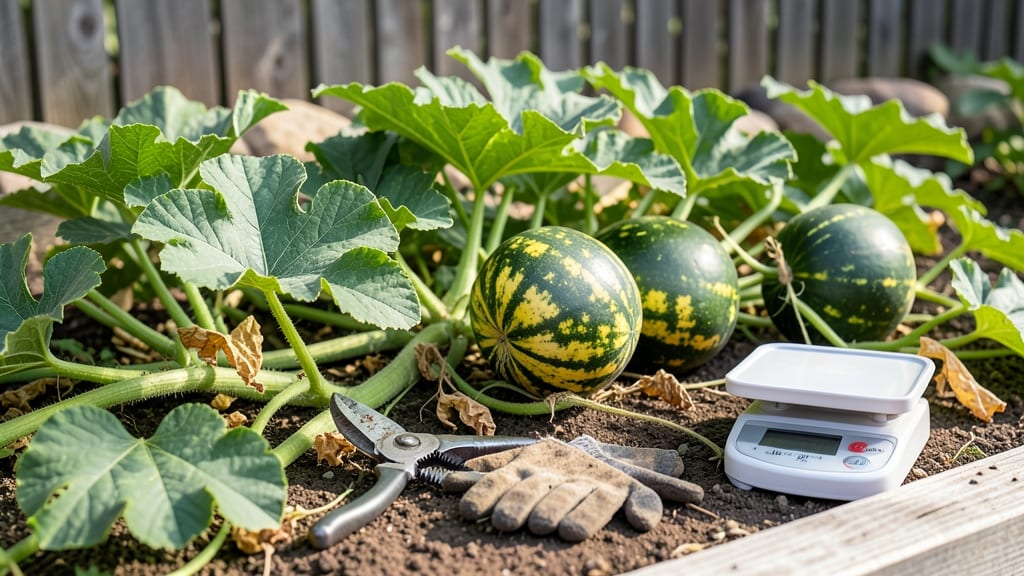
To pick watermelon from the garden at the perfect moment means the difference between a burst of juicy sweetness and a mealy disappointment — and the secret lies in knowing exactly when to pull the trigger.
Nothing beats the sweet victory of biting into a homegrown 🍉—unless it’s the frustration of a watermelon that’s either rock-hard or mushy inside. The key? Mastering the thump test, reading the rind’s color shifts, and spotting those sneaky field signs like browning tendrils.
Most watermelons take 75 to 90 days to ripen, but heatwaves or cool snaps can throw off the timeline. That’s why I’ll walk you through the foolproof cues—from the telltale crease near the stem to the hollow sound when you tap it—so you never guess again.
Once you’ve nailed the harvest, I’ll share how to store your prize (or turn underripe ones into something delicious) so your garden’s hard work pays off all season long.

How to test watermelon ripeness: thump test, rind color & field signs
Mastering the art of watermelon ripeness means knowing exactly when to pluck that perfect fruit from your vine. The key lies in combining visual cues, tactile tests, and field signs—each offering clues about the fruit's internal sweetness and maturity.
These methods aren't just folklore; they're backed by science, from chlorophyll breakdown in the rind to starch-to-sugar conversion as the fruit matures.
Start with the most reliable field sign: the tendril near the watermelon's stem. When this tendril turns brown and crispy, it's nature's way of signaling the fruit is ready. This change happens because the vine stops sending nutrients to the tendril as it focuses on ripening the melon.
Pair this with rind color changes, where the solid color (no green near the stem) indicates full maturity. These visual cues work together to give you a clear picture of ripeness.
| Indicator | What to Look For | Science Behind It |
|---|---|---|
| Tendril Color | Brown and dry | Nutrient cutoff signals maturity |
| Rind Color | Solid, no green near stem | Chlorophyll breakdown completes |
| Thump Test | Deep, hollow sound | Seed cavity separation indicates ripeness |
| Rind Firmness | Hard, resists thumbnail pressure | Cell wall thickening completes |
| Field Spot | Yellowish patch on underside | Natural ripening indicator |
Next, put the thump test to work—though with a twist. The classic method involves tapping the watermelon and listening for a hollow sound, but accuracy varies based on vine health and fruit size. For best results, combine this with rind firmness testing.
Press your thumbnail into the rind near the field spot (the yellowish patch on the underside). If it doesn't puncture easily and feels firm, the fruit is likely ripe. This tactile test aligns with the cell wall thickening process that occurs as the melon matures.
Don't overlook the field spot, a natural ripening indicator found on the underside of the watermelon where it rested on the ground. This yellowish patch appears as the fruit matures and is a reliable sign that the internal sugars have fully developed.
When combined with the other indicators, it gives you a three-point confirmation system for ripeness. For example, if the tendril is brown, the rind is firm, and the field spot is visible, you're likely holding a ripe watermelon.
The thump test works because ripe watermelons develop a separated seed cavity, creating that hollow sound when tapped. However, this test can be misleading if the vine is stressed or the fruit is unevenly ripe.
To minimize errors, always test multiple spots on the melon and combine the thump test with the rind firmness check. For instance, if the thump sounds hollow but the rind is soft, the melon may still need time to firm up.
Seasonal timing also plays a role in ripeness. In hot climates, watermelons may ripen faster, while cooler regions require more time. Pay attention to your local frost-free days and the days to maturity listed on your seed packet.
For example, varieties like 'Sugar Baby' mature in 70-75 days, while 'Crimson Sweet' takes 80-90 days. Adjust your harvesting timeline based on these factors to avoid missing the sweet spot.
Pro tip: Harvest in the morning hours when temperatures are cooler. This reduces stress on the vine and helps the fruit retain its sweetness longer. After harvesting, store watermelons in a cool, dry place (50-55°F) to slow sugar conversion and extend freshness.
If you're unsure about ripeness, hold off for 2-3 more days—watermelons won't ripen further off the vine, but they won't spoil quickly either if left on the vine.
For container-grown watermelons, ripeness cues are the same, but timing may vary slightly due to limited root space. Monitor these plants closely, as they often ripen 1-2 weeks earlier than in-ground varieties.
If you're growing heirloom varieties, expect larger fruits with thicker rinds, which may take longer to reach full ripeness. Always prioritize the field signs over size when determining readiness.
Remember, the best watermelons are those that pass all three tests: tendril browning, rind firmness, and the thump test. When you combine these methods, you'll consistently harvest melons that are sweet, juicy, and flavorful—worth every moment of your gardening efforts. 🍉
Best practices for harvesting watermelons without damaging the vine
Once your watermelon reaches peak ripeness, harvesting it properly ensures both a delicious fruit and a healthy vine for future yields. The wrong technique can bruise the melon, stress the plant, or even invite pests.
I’ve learned through years of trial-and-error that how you cut and handle the fruit matters just as much as when you pick it.
Start by using a clean, sharp knife or pruners to avoid tearing the vine. Cut the watermelon stem about 1-2 inches from the fruit—this prevents disease from spreading through an open wound.
Never twist or pull the melon, as this can damage the vine’s vascular system and reduce next year’s harvest potential.
After harvesting, let your watermelon cure in the sun for 3-7 days to develop full flavor. Place it on a dry, shaded surface (like a wooden board) to prevent rot. This step is critical for sweetness and storage life—skipping it means a less flavorful melon that spoils faster.
Step-by-Step Harvesting Guide
- Step 1: Wait for field signs—brown, dry tendril near the fruit and a dull rattle when shaken.
- Step 2: Use a sterilized knife to cut the stem 1-2 inches from the melon.
- Step 3: Avoid pulling—this can tear the vine and risk disease entry.
- Step 4: Cure melons in sunlight for 3-7 days to enhance sweetness.
- Step 5: Store in a cool, dry place (50-55°F) with good airflow to prevent rot.
One common mistake I see is leaving watermelons on the vine too long, which can lead to overripening or attracting pests like squash bugs. Conversely, harvesting too early results in mealy, watery flesh that’s disappointing to eat.
Always check for full color development and a hard rind—these are your best indicators of readiness.
For storage, keep your watermelons in a cool (50-55°F), dry place with good airflow, like a basement or pantry. Avoid refrigerating whole melons until they’re cut—cold temperatures can turn the flesh mushy. If stored properly, a homegrown watermelon can last 2-3 weeks after harvest.
Pro tip: If you’re unsure whether a melon is ready, wait one more day. A fully ripe watermelon will keep on the vine for a few days without harm, but an underripe one won’t improve after picking. Patience here pays off in sweeter, juicier fruit every time.